

LED Shelf Lighting Installation: A Step-by-Step Guide for Retailers
Installing LED shelf lighting sounds straightforward until you are standing in a store at 2 AM with a fixture that does not fit and a driver that hums. Most installation problems stem from skipping the planning phase. This guide covers what actually matters wh
On this page
Installing LED shelf lighting sounds straightforward until you are standing in a store at 2 AM with a fixture that does not fit and a driver that hums. Most installation problems stem from skipping the planning phase. This guide covers what actually matters when putting lights under retail shelves. The methods here apply to ARMOR’s shelf lighting line, but the principles work for most low-voltage LED systems. Choose the approach that matches your shelf type, timeline, and whether you need future flexibility.
Pre-Installation Planning
Start with the shelf itself. Material determines mounting method. Metal shelves accept magnetic tracks directly. Wood and laminate need adhesive strips or mechanical clips. Glass shelves require specialized brackets. Measure shelf thickness and underside clearance before ordering hardware. Power source location affects everything. Drivers convert mains voltage to 12V or 24V DC. They need ventilation, access for replacement, and protection from dust and moisture. In grocery environments, drivers go in ceiling cavities or behind top shelves. In fashion retail, they often sit in cabinet bases. Plan cable runs from driver to first shelf point before touching a fixture. Lighting layout is not guesswork. For general shelf illumination, space bars 600–900 mm apart. For product spotlighting, position bars directly above the item front edge. Draw the layout on paper. Mark power entry points. Count total wattage to size the driver correctly. A 100W driver powering 80W of LEDs runs efficiently. The same driver at 95W runs hot and shortens lifespan.
Installation Methods
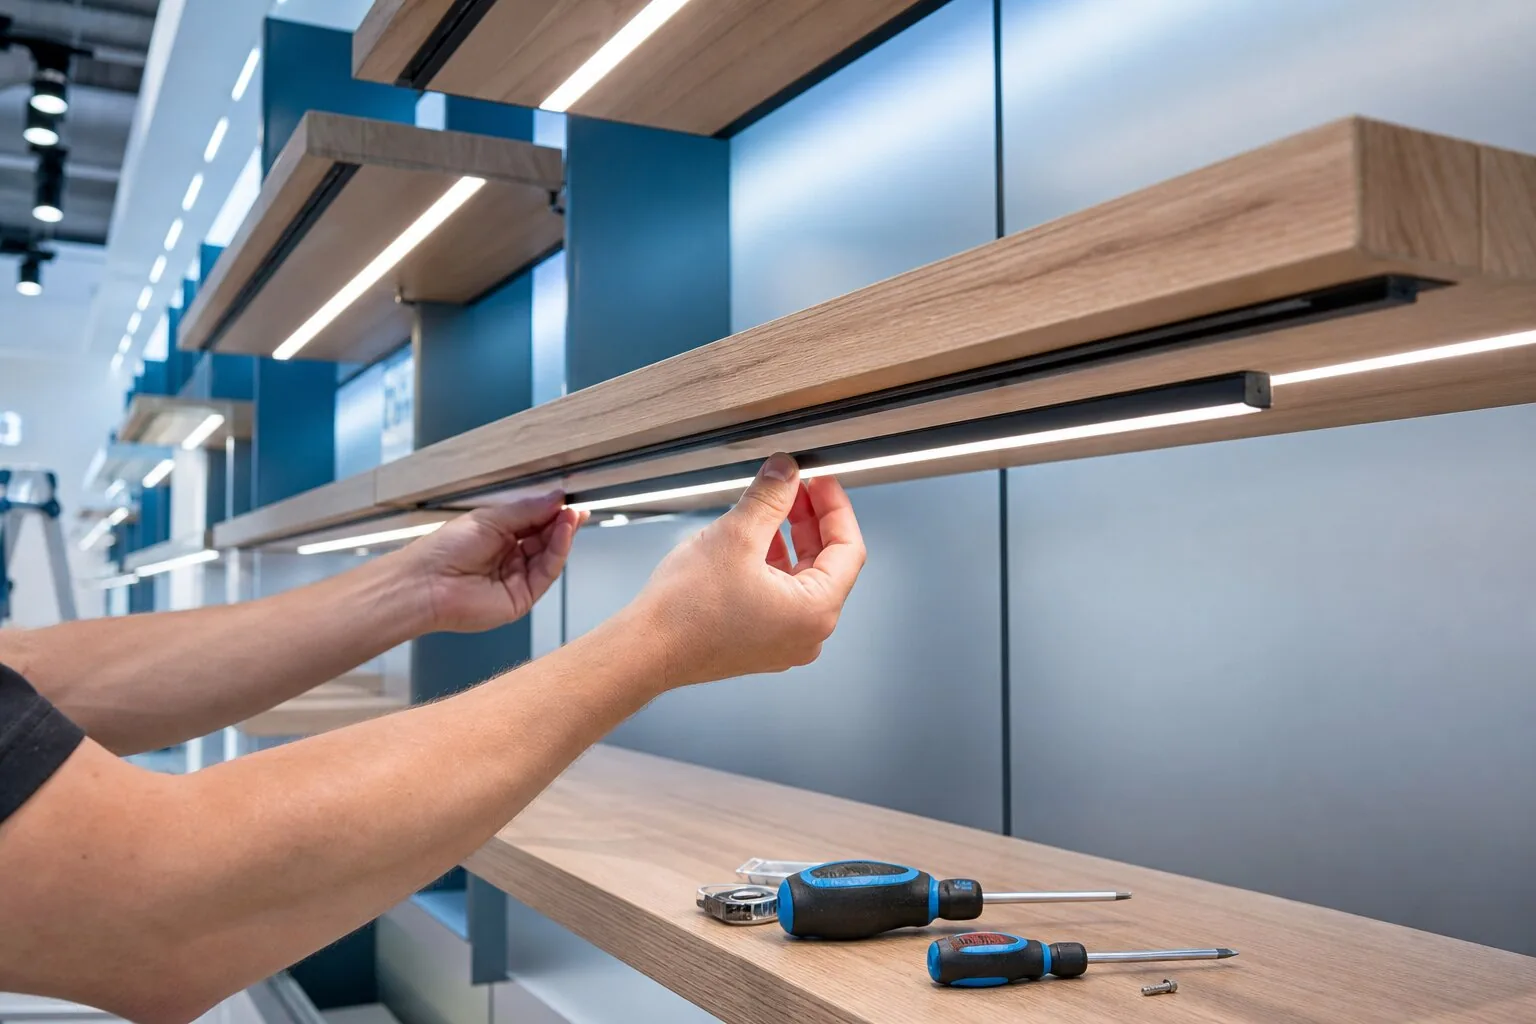
Magnetic track mounting works for steel shelves and any shelf with a thin metal strip added to the underside. The track snaps into place. Lamps attach magnetically and draw power through contact. No tools, no screws, no adhesive. A store employee can reposition a lamp in seconds. This is the fastest method and the easiest to modify later. Adhesive strip mounting suits wood, laminate, and painted surfaces. Clean the underside thoroughly. Apply the strip, wait for cure time, then attach the light bar. Use automotive-grade adhesive rated for the shelf material and weight load. Cheap tape fails in temperature-cycled environments like refrigerated display cases. Clip-on bracket mounting handles glass shelves and situations where drilling or adhesive is unacceptable. Brackets grip the shelf edge and suspend the light below. They add visible hardware but leave the shelf surface untouched. This matters for premium displays where any modification reduces resale value.
Wiring and Power Setup
Low-voltage DC wiring is safer than mains but not foolproof. Use the correct gauge for the run length. Longer runs need thicker wire to prevent voltage drop. A 3-meter run at 24V using 22 AWG wire loses roughly 5% voltage. That loss translates to dimmer light at the far end. Size up one gauge for runs over 2 meters. Driver placement matters for heat and access. Drivers generate heat. Enclosed spaces without airflow reduce lifespan. Place drivers where air circulates and where staff can reach them without a ladder. Label each driver with the circuit breaker number. Future maintenance depends on knowing which breaker controls which lights. Safety checks before powering on: verify polarity, check for pinched cables, confirm ground connections. Turn on the driver and test each section before closing access panels. Finding a wiring fault with the ceiling open is faster than fishing cables through finished cavities.
Testing and Adjustment
Illumination verification is not just “do the lights turn on.” Check uniformity. Stand at customer eye level and look for dark spots or glare. Adjust bar position forward or backward until the beam covers the product face without spilling into customer eyes. This usually means positioning the light slightly behind the product front edge. CRI check matters for color-sensitive merchandise. Bring a red item, a white item, and a skin-tone reference to the lit shelf. Under CRI 95+ lighting, colors look accurate. Under lower CRI, reds dull and whites shift. If the merchandise looks wrong, the light is wrong, regardless of measured lumens. Final positioning includes aiming angles. Some bars have adjustable lenses. Others are fixed. For fixed bars, slight rotation changes the beam spread. Test and lock the position. Mark the preferred angle with a pencil line so replacement bars go back to the same position.
Maintenance and Troubleshooting
Lamp replacement should not require an electrician. Magnetic and clip-on systems allow staff swaps. Adhesive systems need more care. Keep spare bars in store inventory. Label them by color temperature and length so replacements match existing light. Track cleaning prevents contact issues. Dust and oxidation build up on magnetic tracks over months. Wipe with a dry cloth monthly. For adhesive systems, check strip adhesion quarterly. Heat and humidity weaken bonds over time. Common issues: flickering usually means loose connection or incompatible dimmer. Dim output at the far end means voltage drop or overloaded driver. Color shift across bars means mixed batches or different color temperatures. Fix the root cause, not just the symptom. A new lamp on a failing driver will fail too.
Conclusion
Good installation is invisible. Customers see lit products, not the hardware above them. Retailers see lower maintenance calls and faster seasonal resets. The difference between a professional installation and a rushed job shows up two years later in replacement costs and staff frustration. ARMOR’s magnetic track system eliminates most installation variables. The track mounts once. Lamps snap in and out without tools. Staff handle repositioning and replacement without calling maintenance. For retailers running tight margins and tighter schedules, that flexibility converts directly to operational savings. For installation guides, driver specifications, or pilot program samples, contact Lisa Lee, Founder at lisa@armorlighting.com or visit our headquarters at 3F, Building 10, No.1 Huijiang Baojiang Road, Dashi Street, Panyu District, Guangzhou.
Related Product Families
- Shelf & Cabinet Lighting
Browse ARMOR shelf and cabinet lighting products for retail fixtures, gondolas, showcases, and cabinets.
Retail Lighting →
Planning a Retail Lighting Project?
Need help applying this lighting approach to your fixture?
If you're evaluating retail lighting, fixture lighting, or lighting configuration for a fixture, tell us what you're working on.
Related to what you're reading
LED Shelf Lighting Installation: A Step-by-Step Guide for Retailers
Related Articles
View All Articles »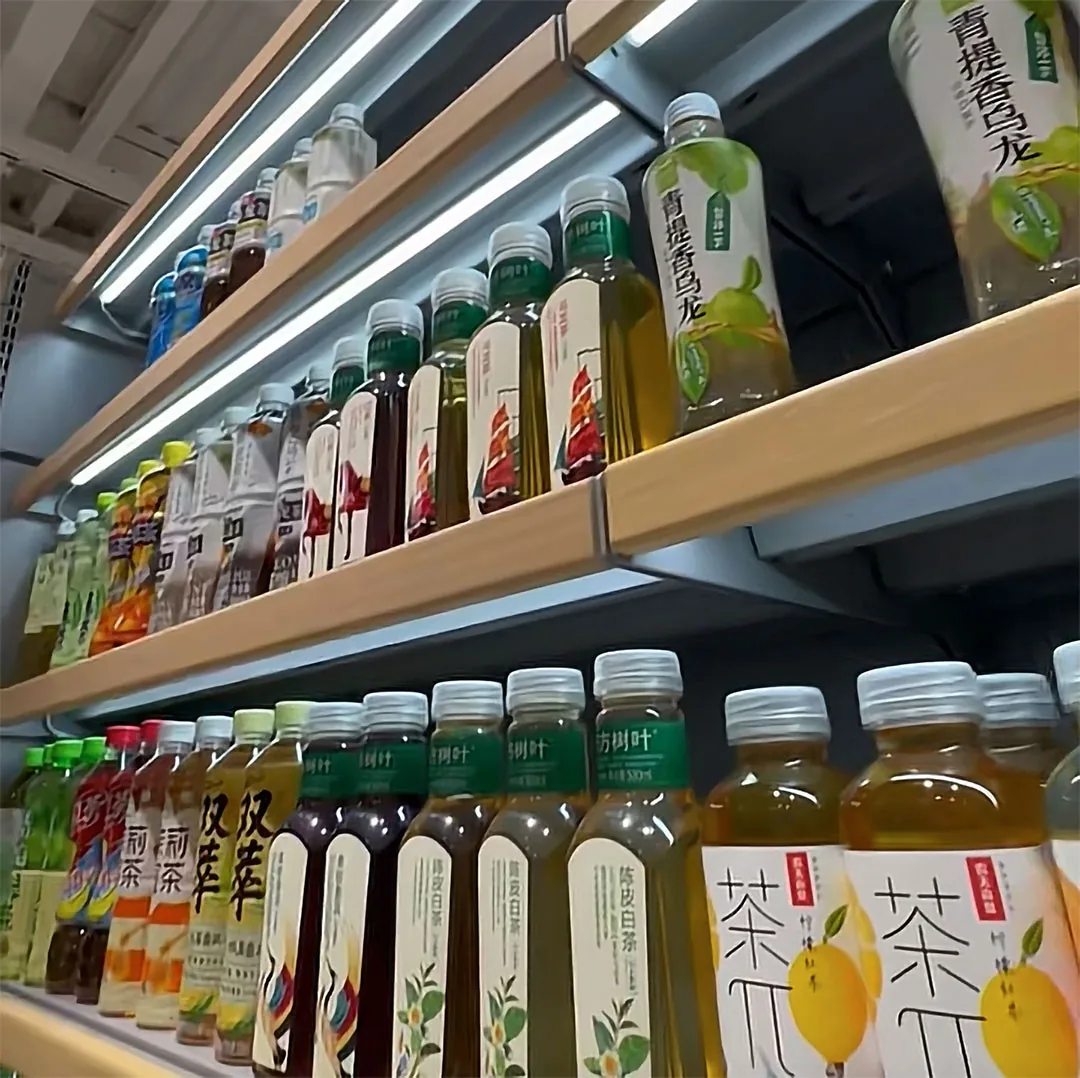
Gondola Shelving Lighting: How to Choose, Install, and Boost Product Visibility
Walk into any supermarket or convenience store and look up. The overhead fluorescent tubes do an acceptable job lighting the aisles. Now look at the shelves themselves. The products on the second, third, and fourth rows sit in their own shadow, washed out unde
How Color Temperature and CRI in Retail Lighting Influence Buying Decisions
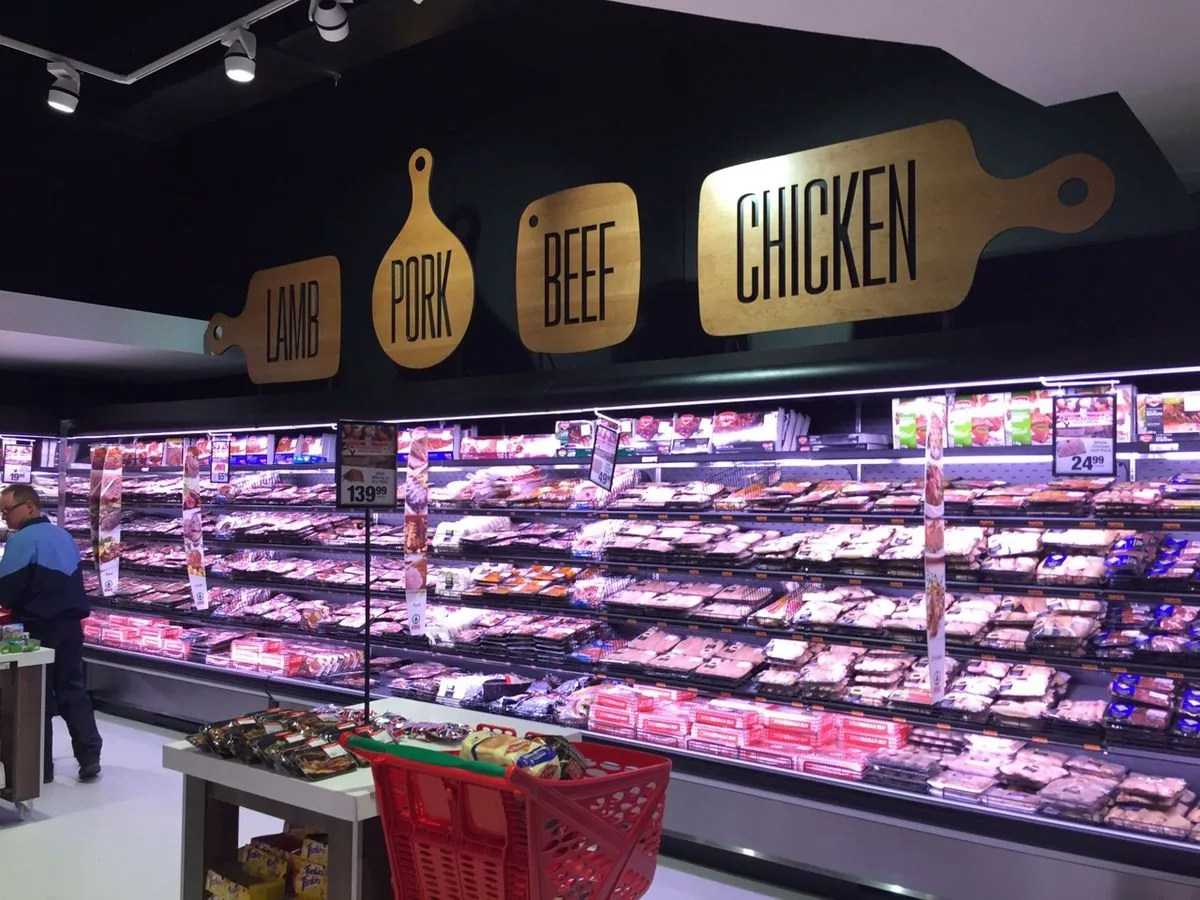
Color temperature CRI retail lighting decisions affect your bottom line more than most store owners realize. Two stores can stock identical products, price them the same, and still see a 20-40% gap in sales — and the difference often comes down to what's hangi
How Retailers Are Cutting Energy Costs 20-40% With LED Shelf Lighting Upgrades
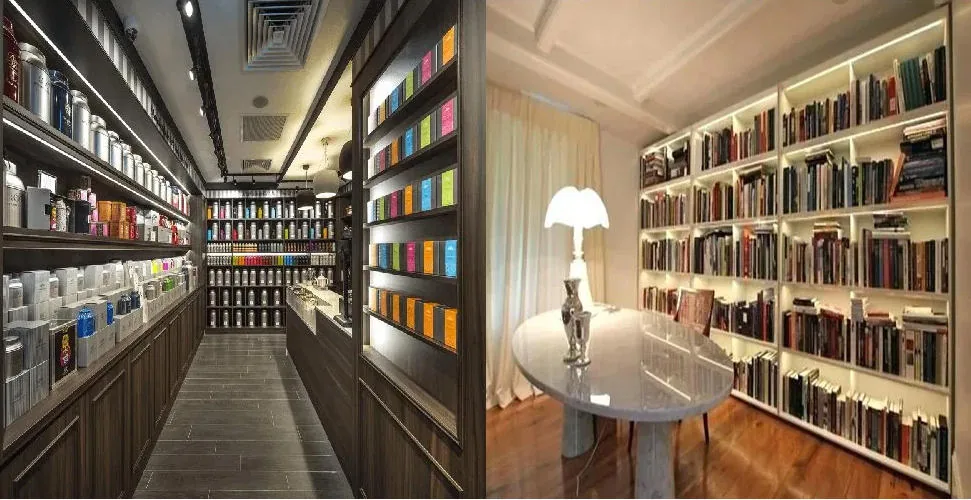
Retail stores waste 25-35% of the energy they consume, according to the US Environmental Protection Agency. For a single-location store, that waste translates to $9,000-$18,000 per year in preventable spending. Across a 10-store chain, you are looking at $90,0
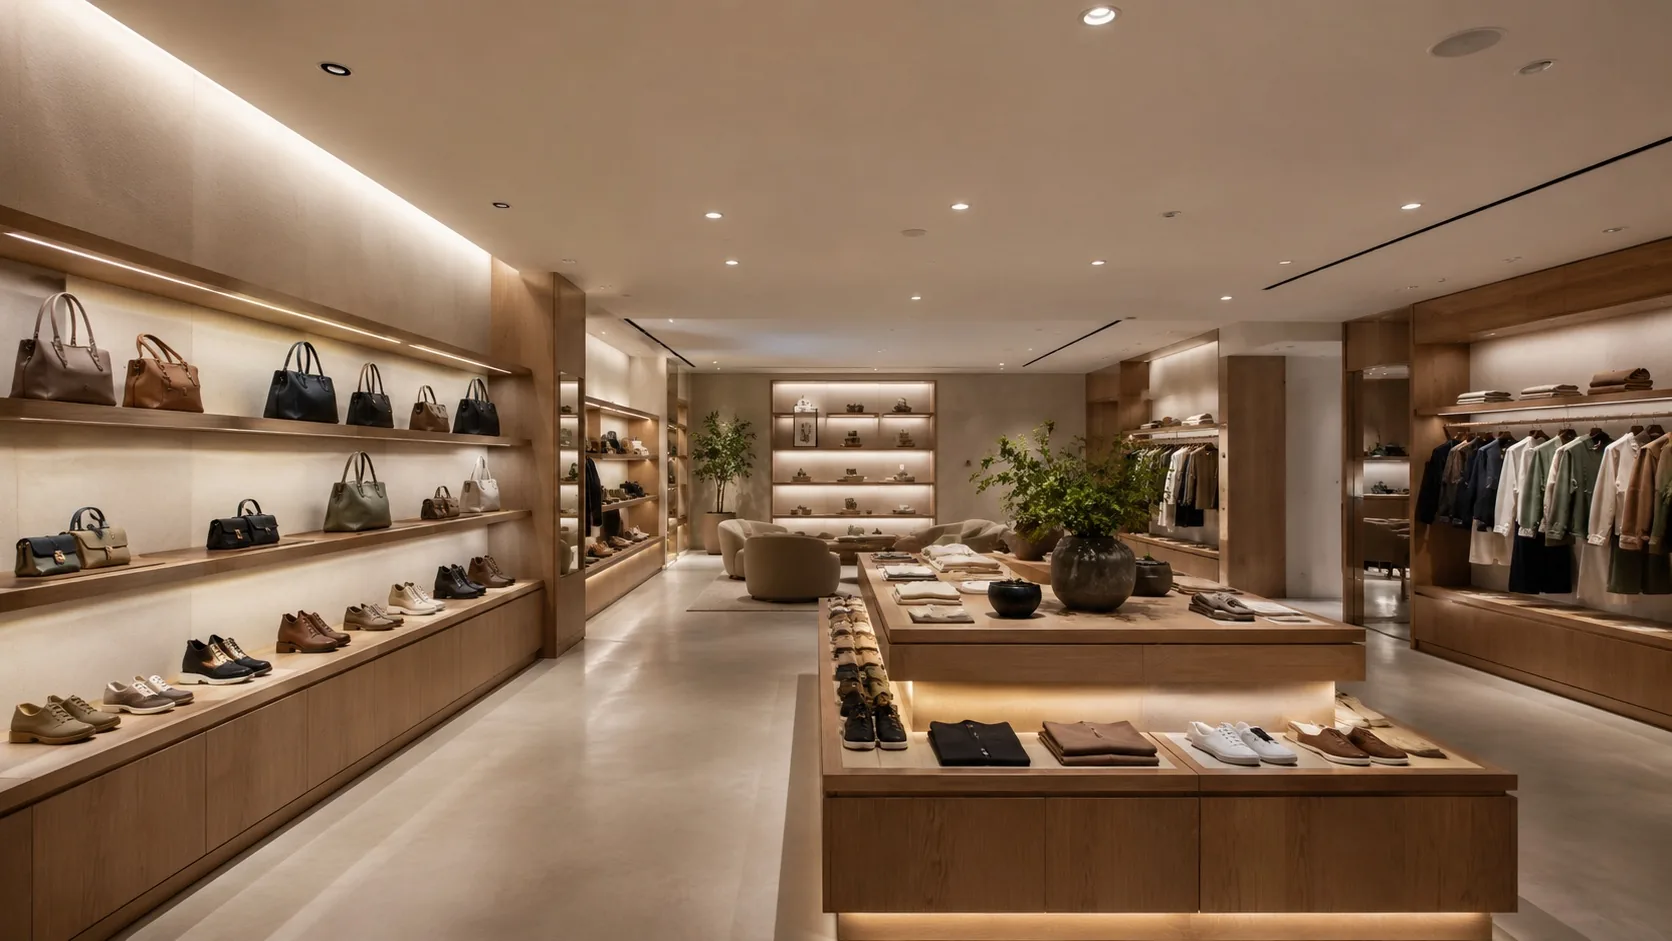
Retail Lighting Trends 2026: Minimal Design, Human-Centric Light, and Smart IoT
The retail lighting trends 2026 are shaped by three converging forces: consumer demand for cleaner store aesthetics, growing evidence that light quality affects purchasing behavior, and the rapid cost reduction of IoT sensor technology. Retailers who understan